One careless pull can ruin hours of sewing. That tiny red ball on your seam ripper may look unimportant, but overlooking its purpose can turn a simple correction into a heartbreaking snag. Before you attack another stubborn seam, discover how this overlooked detail helps protect your fabric and why the way you hold it could save your next proj… Continues…
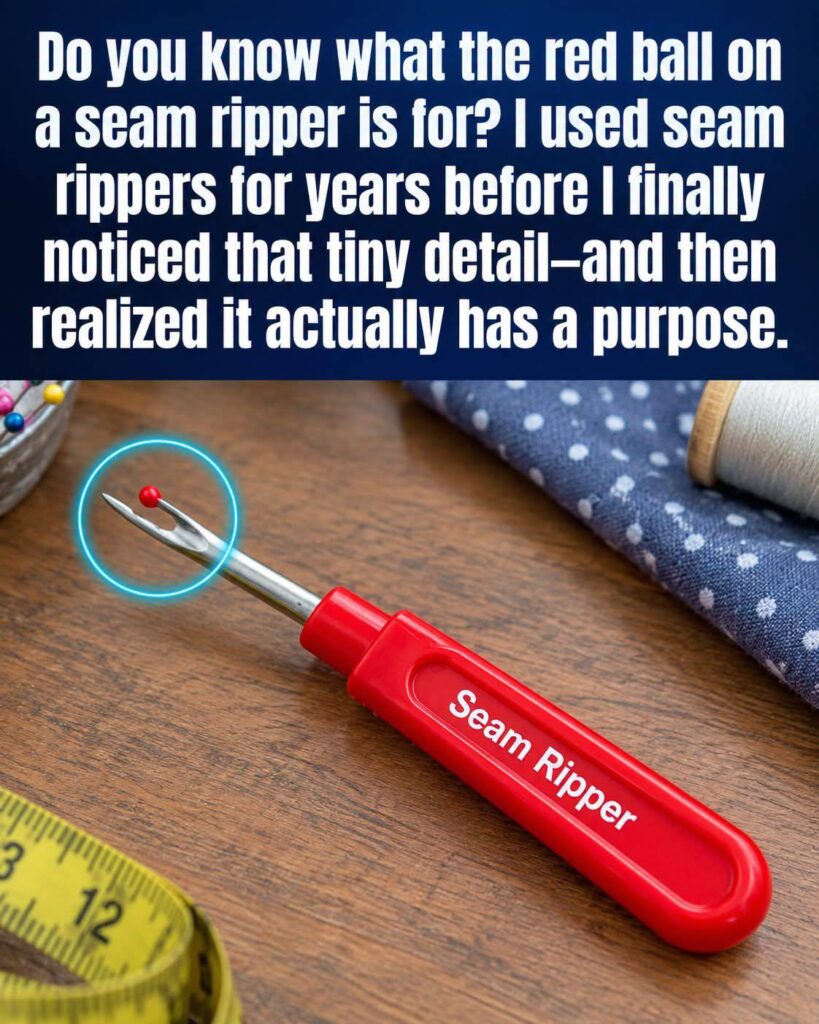
The red bead on a seam ripper isn’t decoration: it covers the shorter prong, helping it glide against fabric while the curved blade between the prongs cuts thread. For short seams or delicate materials, slip the pointed tip beneath individual stitches and cut them gently, removing loose threads as you work. On sturdier fabric, carefully open the seam enough to guide the rounded prong underneath the stitches, keeping the bead against the cloth as you advance.
That small guard reduces snagging, but it doesn’t make the tool damage-proof. Support the fabric, work in good light, and stop if you feel resistance rather than forcing the blade forward. Replace a dull seam ripper and cap it before storage. Beyond correcting seams, it can remove basting stitches and carefully detach sewn-in labels. Used patiently, this humble sewing-box staple helps turn a frustrating mistake into a manageable repair—and gives your hard work another chance.